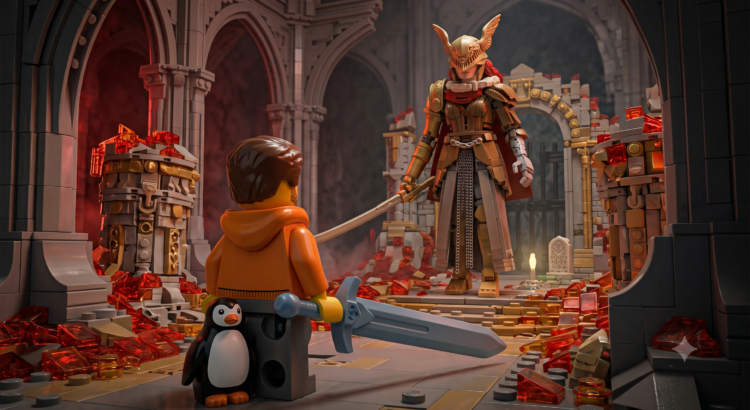
Every good game opens with a tutorial level. A safe little sandbox where the game teaches you to jump, crouch, and not stand in the lava before it lets you loose on anything that can actually hurt you. Now, I already see some of you rolling your eyes. The Dark Souls and Escape from Tarkov crowd, the beautiful masochists who boot up a game specifically to get their teeth kicked in. You skip the tutorial on principle. You want the boss on level one and you are already thinking you will replay for a “no hit” run. I respect it, some people just like to feel the pain. This particular blog is not for you (though Part 4 might still be worth checking out). For the rest of us mortal men and women, the tutorial is where the muscle memory gets built, and by the time the real challenges show up your hands already know what to do.
That’s exactly how I’d like to introduce FlashArray on OpenShift. I spent some time covering the basics of an OpenShift environment, some of the stuff a vSphere admin might want to see. You can click through each one in a few minutes (no cluster required, no coffee break needed), and they build on each other from the plumbing all the way up to the boss fight of migrating VMs off VMware.
Here’s what to expect in each level.
Part 1: Basics of a CSI Configuration (the tutorial level)
This is your character creation screen. Before any of the flashy stuff works, something has to teach OpenShift how to talk to the array, and that something is the CSI layer. In this demo I walk through the Portworx operator, the StorageCluster it stands up, and the StorageClass that ends up being the thing your VMs and pods actually consume. You’ll see where the FlashArray gets registered and how a persistent volume claim quietly turns into a real volume on the array. It’s the least glamorous of the four (nobody screenshots a StorageClass for fun), but everything after this depends on it, so it’s worth the five minutes to see how the pieces click together.
Part 2: Creating a VM from a Template (your first real level)
Now that the plumbing is in place, we get to actually play. This demo shows how quick it is to spin up a virtual machine from a template in OpenShift Virtualization, with the disk provisioned on FlashArray behind the scenes. You’ll see the template selection, the VM coming to life, and (the part I always enjoy) just how little ceremony there is between “I want a VM” and “I have a running VM.” If you’re coming from the vSphere world, this is the moment where it starts to feel familiar, just with Kubernetes underneath instead of a hypervisor you’ve babysat for a decade.
Part 3: Leveraging FlashArray Snapshots (the save point)
Every game worth playing lets you save your progress, and array-based snapshots are your save point. In this demo I take a snapshot of a VM and show how you can recover from it, all driven through OpenShift but powered by FlashArray under the hood. The magic here is that these snapshots are instant and space-efficient (you’re not copying bytes around, you’re just bookmarking them), which is what makes them so handy for things like quick recovery points or throwaway clones for a dev team. If you’ve read my SQL cloning post, this is the same superpower shown in its simplest form.
Part 4: Migrations Using XCOPY with MTV (the boss fight)
This is the level everyone actually came to beat. Using the Migration Toolkit for Virtualization (MTV), this demo walks through moving a VM from VMware over to OpenShift, and the interesting twist is XCOPY. When the source and target both live on the same FlashArray, the array can offload the heavy lifting of the copy itself (the data moves at the array level instead of being dragged up and back down through the hosts), which makes the migration dramatically faster. It’s the payoff for the first three levels, and it’s the one that tends to make people sit up in their chair once they realize how much time it can save.
Wrap Up
Four demos, four mechanics, one steadily more capable player. Start in the sandbox with the CSI config, get comfortable spinning up VMs, learn to save your progress with snapshots, and then take on the migration boss fight when you’re ready. Whether you click through all four in a row or just jump to the level you care about, the goal is the same: to show how naturally FlashArray fits into an OpenShift environment once the pieces are in place.